Pad Printing (The Shape Master): Best for curved, recessed, or textured items like golf balls and pens. A flexible silicone pad conforms to the object’s shape to maintain a crisp, “painted-on” edge.
UV Printing (The Detail Expert): A digital process that uses ultraviolet light to cure ink instantly. It delivers ultra-high resolution (DPI), making it ideal for full-color gradients, micro-text, and flat surfaces.
Colour Precision: Pad printing is the industry standard for exact Pantone color matching, while UV printing excels at complex, multi-colored designs and photographic details.
Durability Factors: Pad printing inks “bite” into the material for extreme wear resistance; UV inks create a hard, fade-resistant plastic film that is perfect for sunlight exposure.
Volume & Cost:
The Bottom Line: Choose Pad Printing for 3D shapes and high-volume brand consistency. Choose UV Printing for flat surfaces, complex graphics, and smaller, quick-turnaround runs.
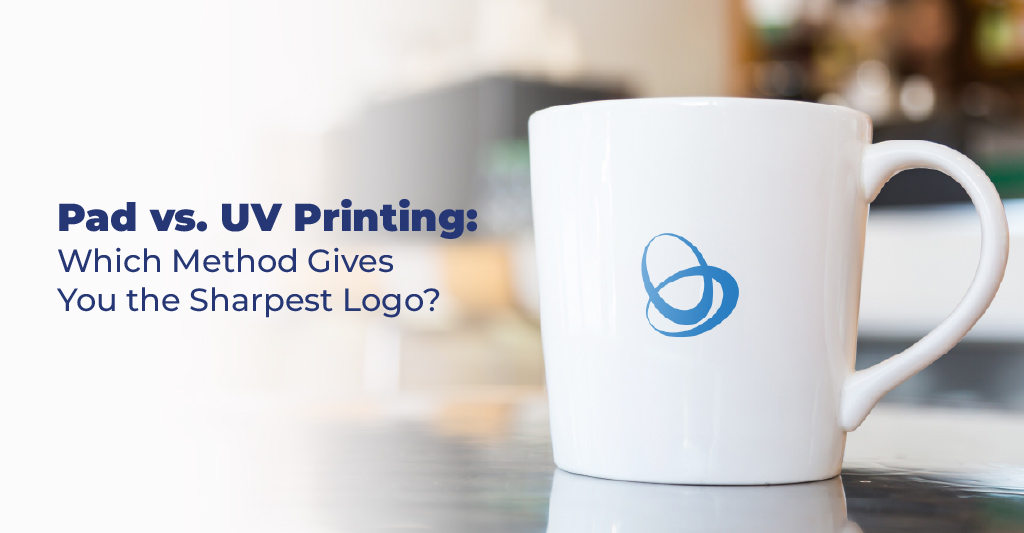
When you spend weeks or even months perfecting a brand identity, the last thing you want is for the final product to look “fuzzy.” We’ve all seen it—a great logo on a screen that ends up looking blurry, faded, or cheaply slapped on once it hits a physical item. Whether you are branding a sleek corporate gift or an industrial component, the printing method is the final gatekeeper of your professional image.
In the world of custom branding, two heavyweight contenders usually dominate the conversation: Pad Printing and UV Printing. Both are capable of professional results, but they achieve “sharpness” in very different ways. Choosing the right one isn’t just about the tech; it’s about matching the method to the material and the shape of your product.
Think of pad printing as a high-tech version of a rubber stamp. Formally known as tampography, its real strength lies in its ability to navigate shapes that would leave other machines struggling.
The process starts with a cliché, which is a metal or polymer plate where your logo is chemically etched. A sealed ink cup (filled with high-pigment ink) slides across this plate, filling the etched areas and wiping the rest clean. A soft, squishy silicone pad then presses onto the plate, picks up the ink, and carries it over to your product.
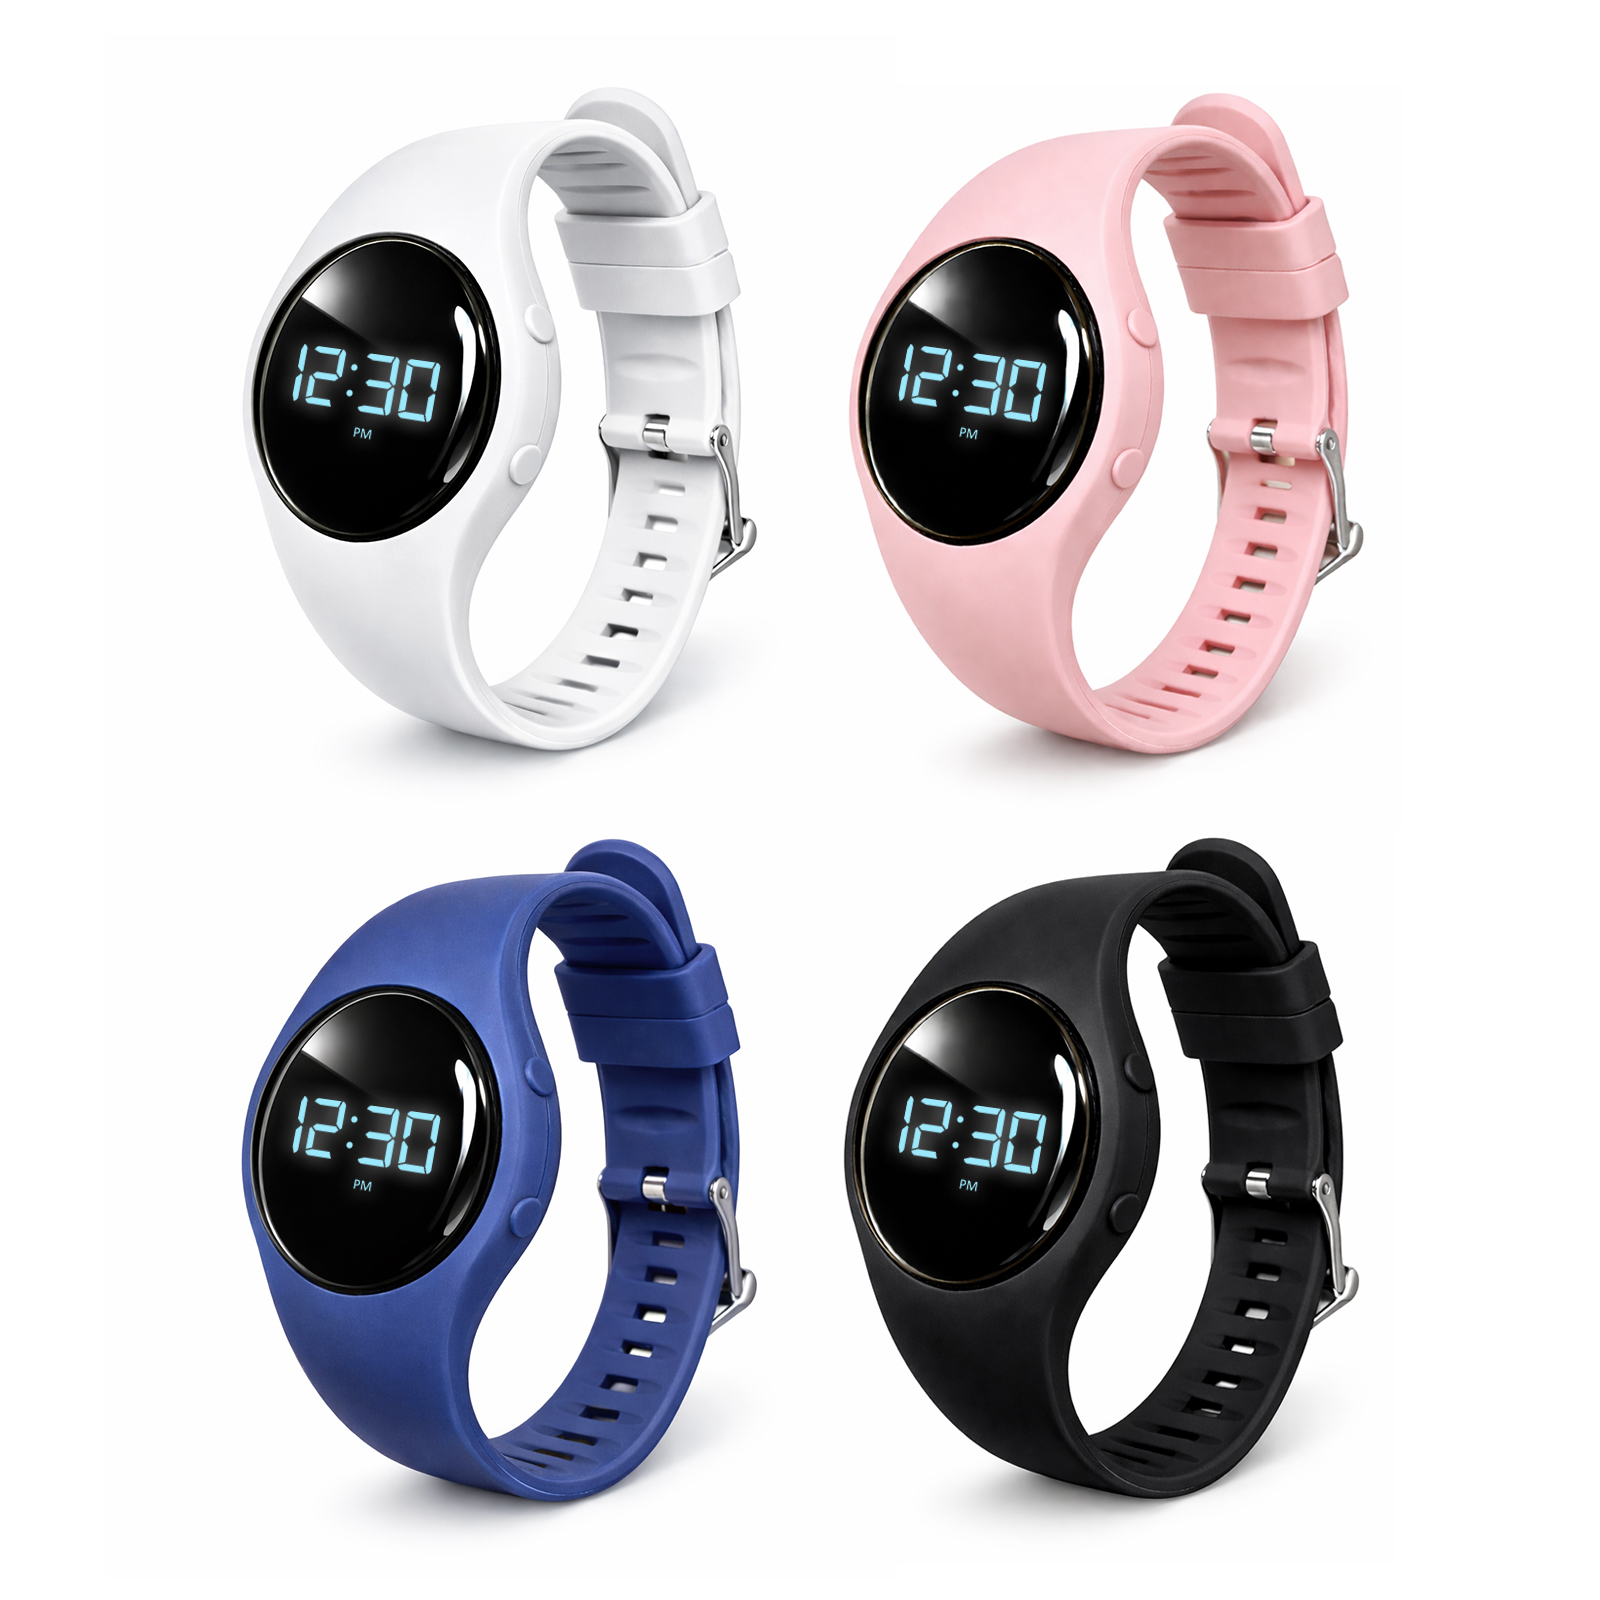
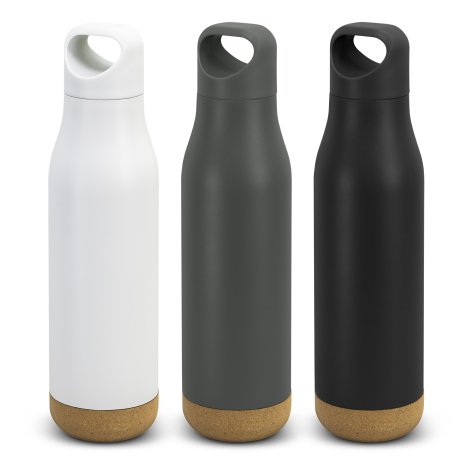
Because the silicone pad is incredibly pliable, it can wrap around curved, recessed, or textured surfaces without distorting the artwork. If you are printing on a golf ball, a curved pen, or a textured power bank, pad printing maintains a clean edge definition because the pad physically conforms to the object’s shape.
However, pad printing is typically a “spot colour” process. It is the gold standard for Pantone colour matching. If your logo relies on a single, bold brand colour, pad printing offers a level of ink opacity and smoothness that digital methods sometimes struggle to replicate.
Did you know?
The modern rise of pad printing actually came from the Swiss watch industry. After World War II, watchmakers needed a way to print tiny, microscopic numbers on watch dials. Before they figured out silicone worked best in the 1960s, they actually used pads made of gelatin!
If pad printing is the master of “shape,” UV printing is the master of “detail.” Digital UV printing works a lot like a high-end inkjet printer you’d have in an office, but with a clever twist: it uses ultraviolet curing.
As the print heads move across the item, they deposit tiny droplets of ink. Right behind the print head is a UV light source. This light triggers a photochemical reaction called polymerisation. Instead of the ink soaking into the material or waiting for a solvent to evaporate, the UV light turns the liquid ink into a solid film almost instantly.
Because the ink cures in a fraction of a second, the droplets have no time to “bleed” or spread out on the surface. This results in an incredibly high DPI (dots per inch). UV printing is the go-to for logos that involve:
When we talk about the “sharpest” logo, we have to look at the “canvas.”
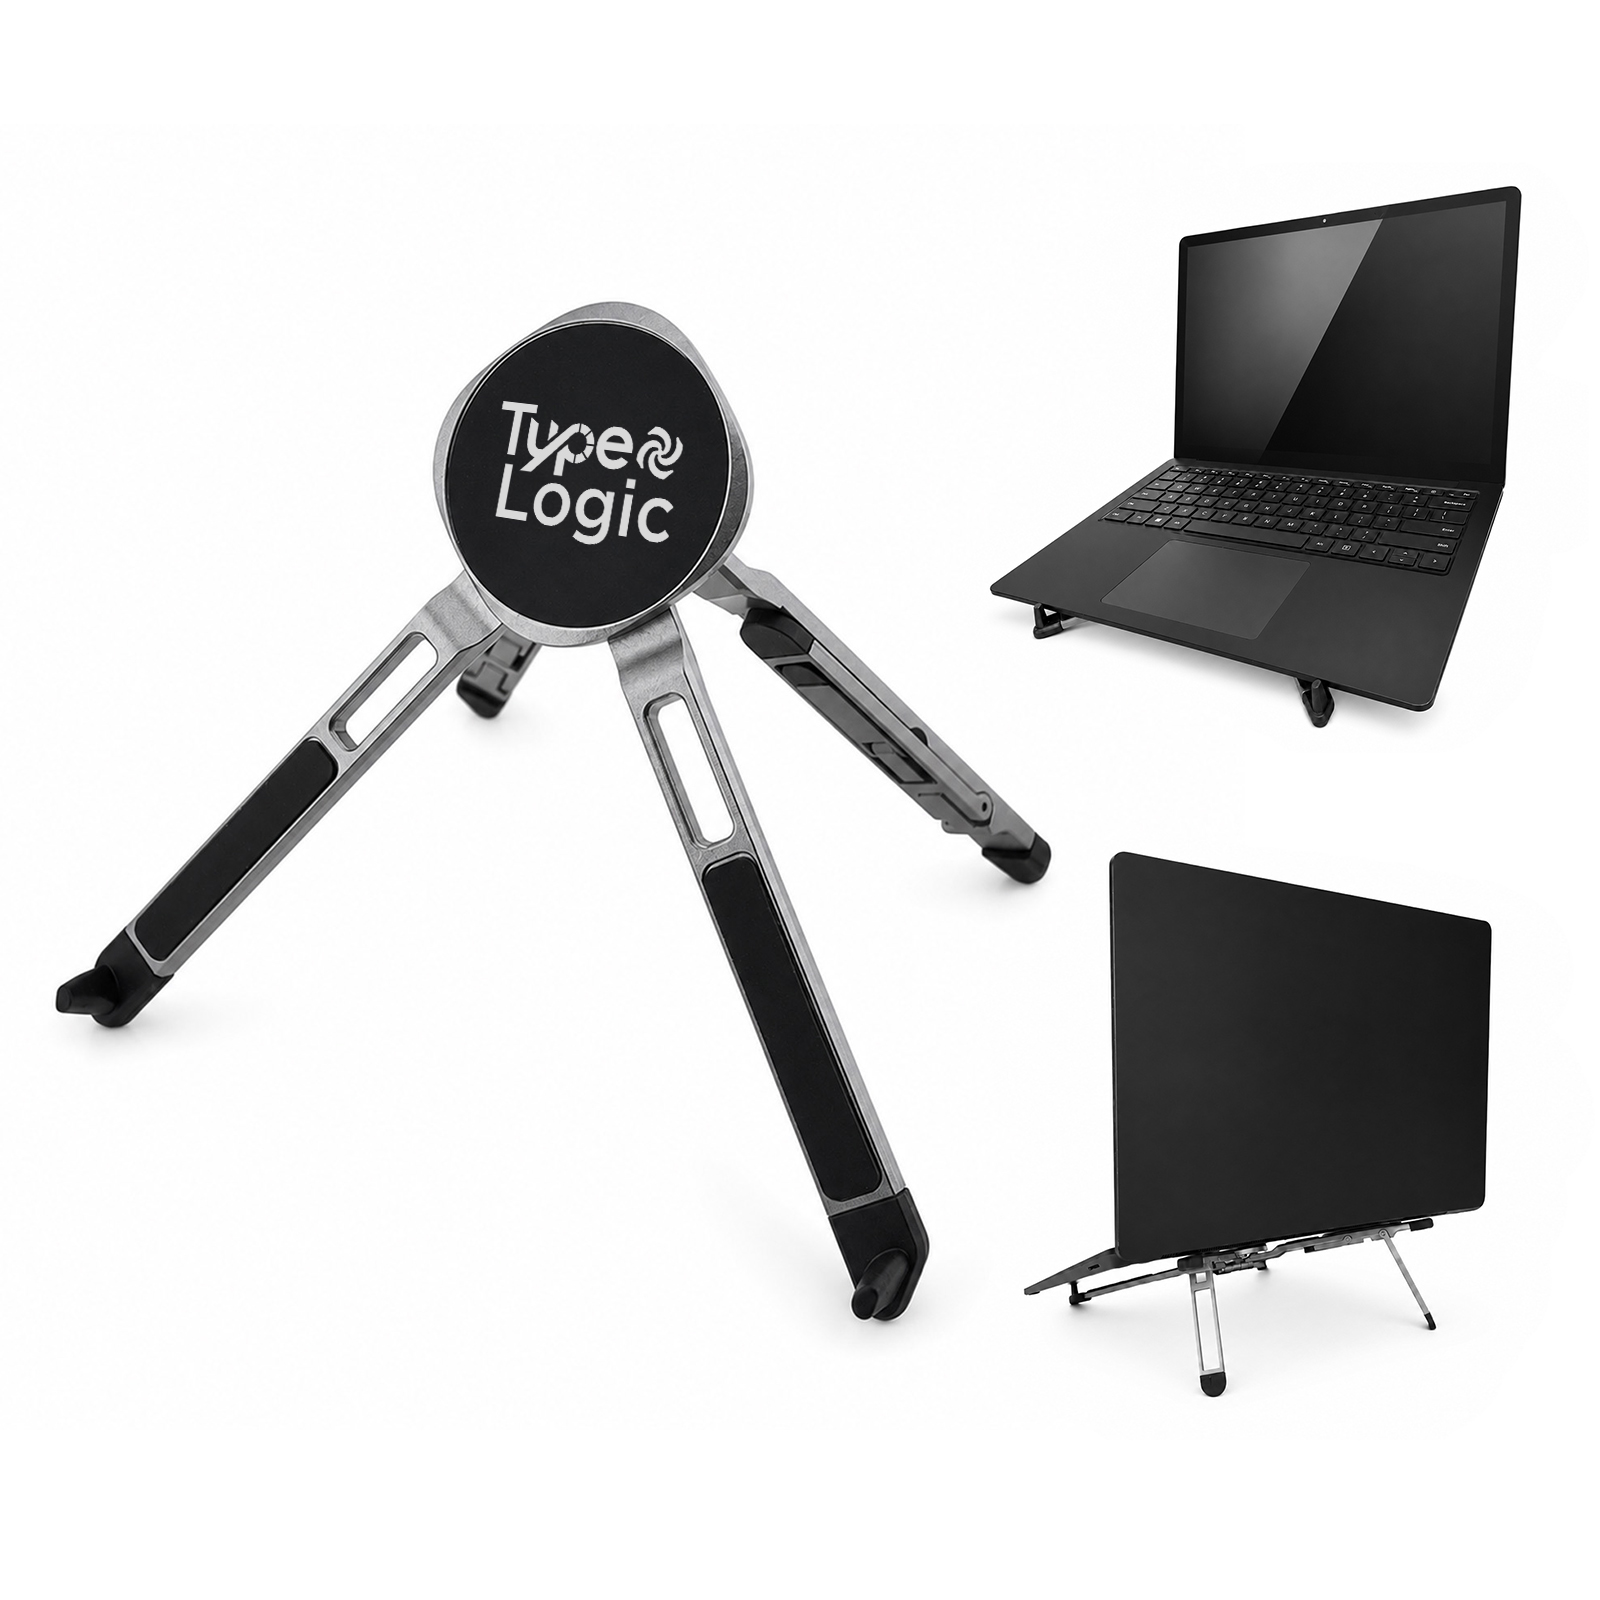
UV printing almost always wins on flat substrates like acrylic plaques, metal cards, or flat-sided tech gadgets. The digital precision allows for a vector-like sharpness. You can even use UV printing to create a tactile finish, where the ink is layered to create a slightly raised effect that you can actually feel.
This is where pad printing shines. A UV printer has a “throw distance”—the gap between the print head and the object. If an object is too curved, the ink droplets have to travel further to reach the edges, which can lead to a slight softening or “blurring.” Pad printing, through its physical contact, ensures the logo remains crisp from the centre all the way to the curve’s edge.
| Feature | Pad Printing | UV Printing |
| Best For | Curved, 3D, and textured items | Flat or slightly curved surfaces |
| Colour Type | Solid Pantone colours (Spot) | Full-colour (CMYK) and Gradients |
| Setup | Higher (Requires custom plates) | Low (Digital file based) |
| Texture | Smooth and thin | Can be raised or textured |
| Resolution | High (Mechanical precision) | Ultra-high (Digital DPI) |
A sharp logo isn’t much use if it flakes off after a month. The longevity of your logo depends heavily on ink adhesion.
Pad printing uses solvent-based inks that essentially “bite” into the surface of plastics or metals. For tougher materials, technicians often use “two-part” inks that include a hardener. This makes the print very resistant to chemicals and wear. It’s why the markings on your car’s indicator stalks or your dishwasher buttons are almost always pad-printed—they are designed to survive years of constant touching.
UV-cured inks are basically a layer of hard plastic bonded to the surface. They are incredibly resistant to fading from sunlight (UV resistance) and scratches. However, on “rubbery” or very flexible materials, UV ink can sometimes crack because the cured film is quite rigid. While flexible UV inks have improved a lot recently, it’s still something to keep in mind for items like soft-touch silicone phone cases.
Did you know?
UV curing isn’t actually “drying.” Drying usually means a liquid is leaving the ink and entering the air. Curing is a chemical transformation where molecules link together to form a solid chain. It’s more like “growing” a solid layer instantly rather than waiting for a liquid to dry out.
Sharpness is also about consistency across an entire order.
If you are a business looking for 50 custom-branded power banks with a colourful, complex logo, UV printing is usually the best path. Since it doesn’t require physical plates, the setup is minimal, making small runs very affordable.
However, if you are ordering 5,000 pens with a specific corporate blue logo, Pad printing is the industry standard. While the initial cost of etching the plates is higher, the speed of the mechanical process for large volumes makes it way more cost-effective. Plus, the ability to maintain an exact Pantone match across every single unit ensures the brand looks identical from the first pen to the last.
The material of your product—the substrate—changes how “sharp” the ink appears.

Sharpness is only half the battle; the other half is execution. Whether your project calls for the 3D flexibility of Pad Printing or the vibrant detail of UV Printing, our in-house experts are here to help you choose the perfect fit.
To find the sharpest result for your specific project, try asking these three questions:
Choosing between pad and UV printing isn’t about which technology is “better.” It is about matching the strengths of the method to your product. When you get that pairing right, the result is a logo that looks sharp, feels premium, and actually lasts.